Segmented Snare Builds

It seems like everyone has gotten into a home improvement and spring cleaning mode to keep busy. I am totally guilty of this and found myself reworking the home studio a bit and the home workshop.

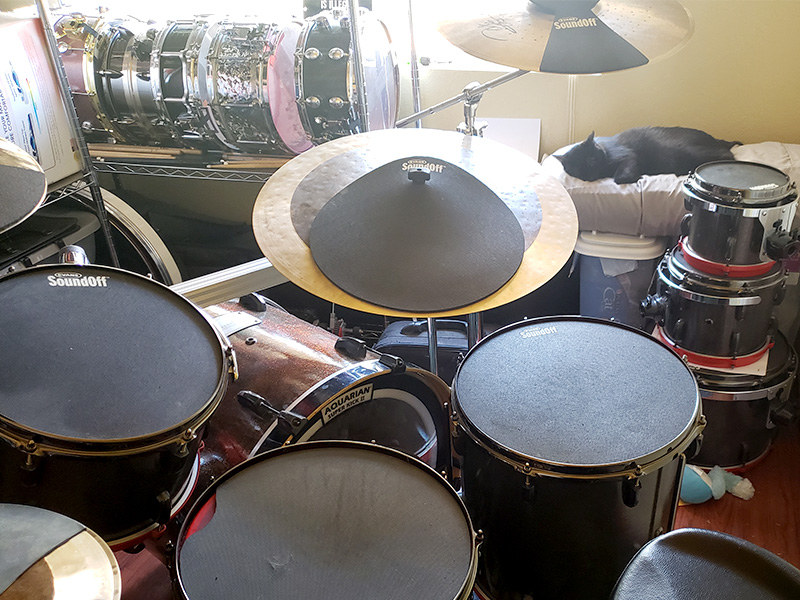
Just a little peek at the home studio and my Frijolita (studio guard cat) taking a nap at the corner.

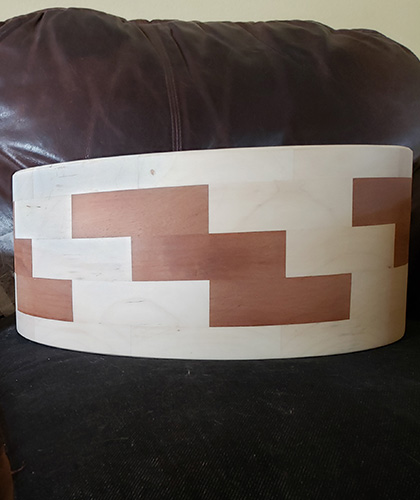
Getting down to business, I found a good deal on some segmented shells. I purchased a 13″ birdseye maple shell that is 4.75″ deep (just below the 5″ mark to still be classified a piccolo; a deep piccolo lol) and, I got a great deal on the maple / mahoghany segmented shell that is 6 inches deep.

The segmented shells have a great tone compared to “ply” drum builds. With no glue or layers to inhibit resonance, segmented and stave shells resonate more. This creates a pure and clear tone that has both more sustain and projection. As a result, the tone and a big part of the drum’s sound comes from the wood.

With this in mind, you can’t really go with flashy lugs that have a large footprint on the shell. You can never go wrong with tube lugs, the solid construction and small anchor points make sure you make the most of the tone from the shells. Let’s get started with the different materials you will need for the finish on the drums:

-Stain (for this project we are using )

-Clear finish

-Sand paper / sanding blocks (I use gator sanding sponges – I found they file better and more evenly than 3M and the stuff from harbor freight)

-Application Tool (fine brush / sponges / rakot towel)

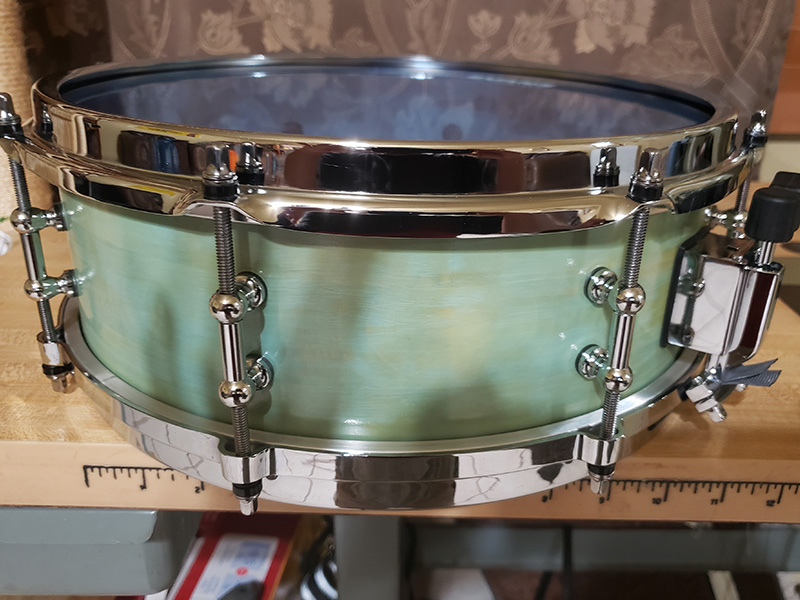
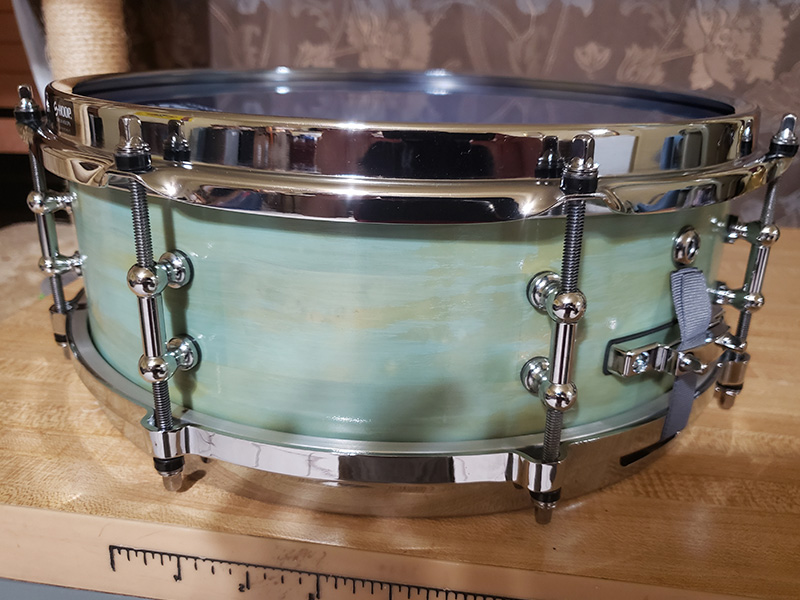
13X4.75 Birdseye Maple Piccolo

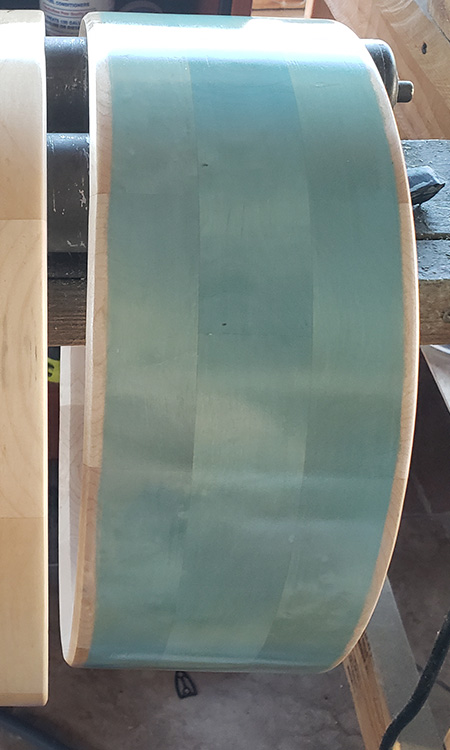
This is the drum with the most dense wood, that also happens to have the best figure to the grain. This drum was being built for studio purposes but, wound up being made as a gift………….. for the wifey (what’s hers is mine right? lol). That being the case it had to be teal and thought that the perfect color to use would be a vintage aqua. For this project I chose to go with a Vintage Aqua wood stain.

First step was to sand the shell once with the 220 grit sanding block to prepare it for the first application of color. I started using sponges to apply the first layer of color. It is important to use a rolling surface / platform to help keep the layers as even as possible. In order to get a good vintage look to the shell, I chose to wipe the excess paint after 30 seconds to a minute of letting the stain sit. In the Phoenix heat, all I needed to wait was 2 hours to allow the paint to cure, depending on weather conditions you may need to wait longer or less, to have it ready for the clear coats. I chose to use a 5 thin coats of oil modified polyurethane in order to get a yellow tint to the finish (remember to wait at least four hours between coats as oil based poly takes waaay longer to cure). A good sanding and it was ready for two layers of clear water based polyurethane.

I used sponges to add thin layers of fast drying polyurethane to the shell. It is generally a good rule of thumb to go with thin layers to avoid having uneven layers or having the polyurethane drip, not to mention that the finish cures faster and you can get multiple layers done in a day. A quick sanding with a 220 block between clear coats will help even the finish out to get a perfectly smooth finish at the end. After the two clear layers I added another layer of vintage aqua stain to the shell. This gives the paint a little depth and the layered paint is more vibrant than the base color. Once dry a thin layer of water based clear was added to seal the color in. Here I gave the shell a good sanding with the same 220 grit block to not only level the poly / finish but, to remove parts of the blue to add to the vintage look and give it a weathered look / effect. This gave the shell an amazing look where the base is yellowed with more vibrant blue swatches above. From here 6 layers of clear were added and I used the 400 grit sanding block to get a perfectly even and smooth surface.

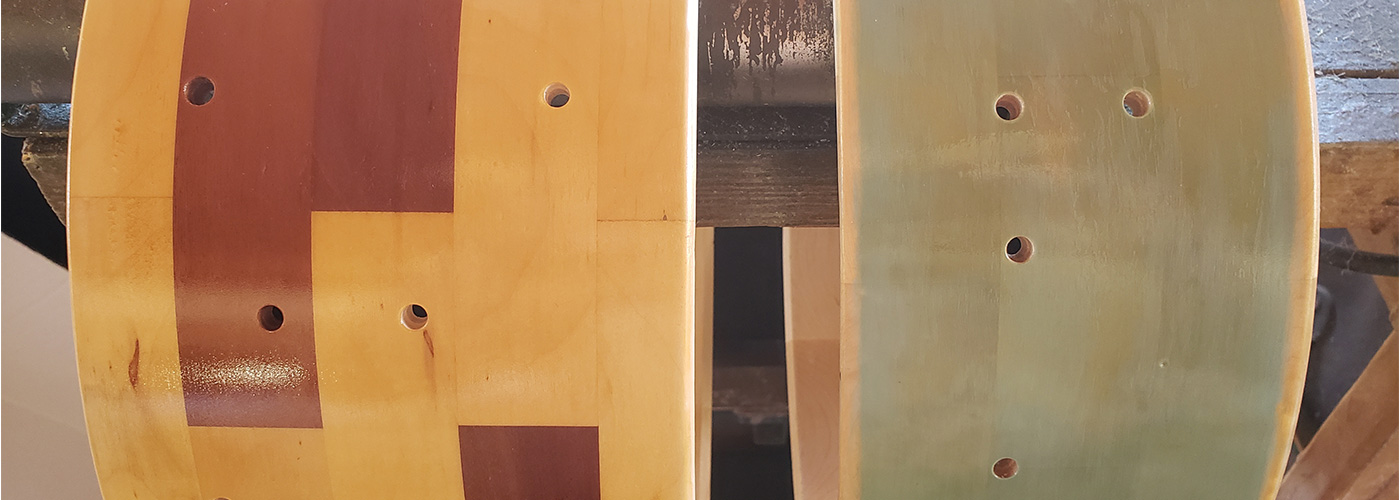
Here the shell was ready for the finishing spray but, I personally like taping the shells up here to drill all of the hardware holes out.

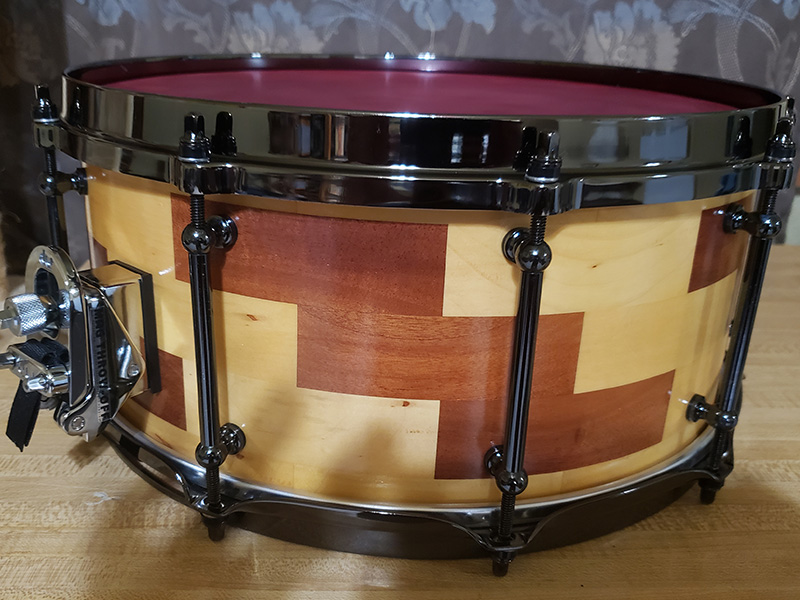
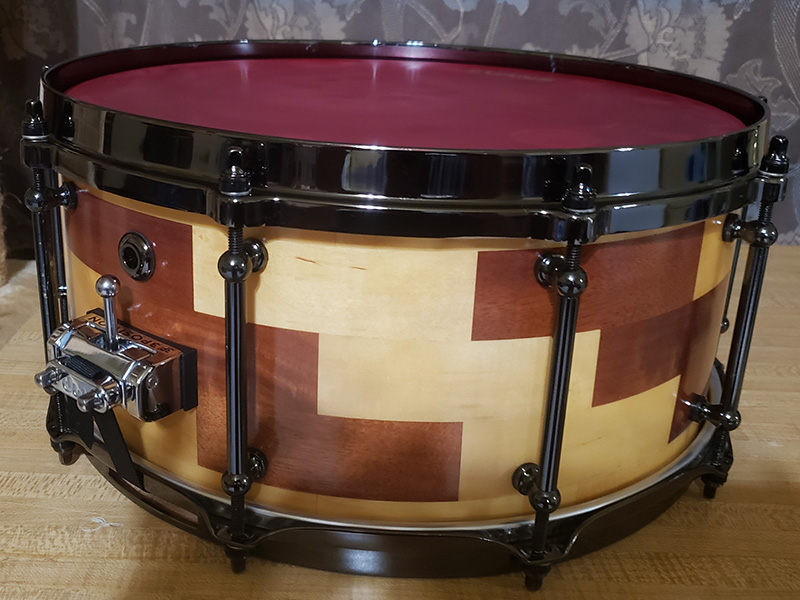
14X6 Maple & Mahoghany Segmented Drum Shell

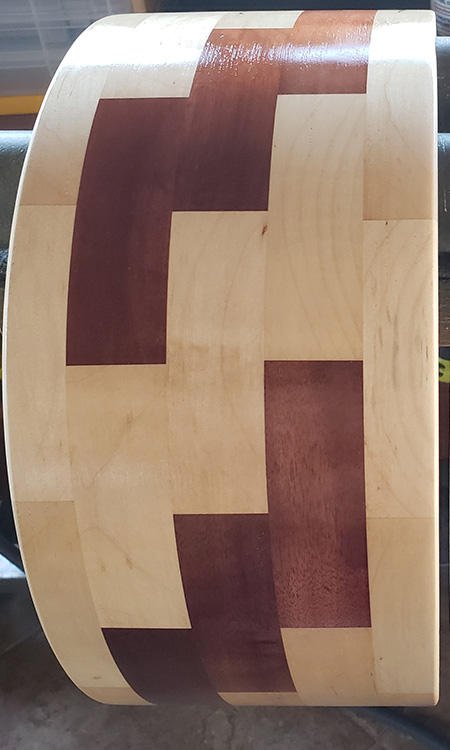
This drum shell was labeled a ‘blemished’ shell because of some natural stains found on some of the maple segments. Even then I found it to be a good looking drum and decided to build it for myself. I debated on staining some of the segments to make a design or add stripes but, decided that the drum would look best with a natural finish.

This was an easy drum to apply the clear to, just a little patience to smooth out all of the mahoghany grain marks across multiple layers of clear finishes. I wound up adding 4 layers of clear with a 220 grit sanding block and 4 more with a 400 grit sanding block. Once I gave it the final sanding the drum was taped up for hardware drilling.

Drilling & Hardware Layout

13″X4.75″ Piccolo – This drum was outfitted with 8 chrome tube lugs 1 3/8″ in size (measured from the center of the posts)

-Chrome Heavy Duty Slender Side Throw Strainer

-Chrome 1/2″ Small Die-Cast Vent

-Chrome Die-Cast Butt-Plate

-13″ 8 Lug S Hoop (Batter Side)

-13″ 8 Lug Die-Cast Hoop (Snare Side)

14″X6″ Maple / Mahoghany Hybrid – This drum was outfitted with 10 black nickel tube lugs 3 1/2″ in size (measured from the center of the posts)

-DW MAG Chrome Snare Drum Throw Off

-DW Chrome 3 Position Butt Plate

-Black Nickel 1/2″ Die-Cast Vent

-14″ Black Nickel 10 Lug Die-Cast Hoop (Batter Side)

-14″  Black Nickel 10 Lug 2.3mm Stick Saver Hoop (Snare Side)