Walnut Snare Build 14X6.5
I was really happy with the cherry drum and had to see what I could get out of a walnut shell. I ordered a 14X6.5 all walnut shell from drum factory direct . This shell came with the bearing edges cut at a 45 degrees and the snare bed cut. The drum shell was ready to stain and clear finish right out of the box.
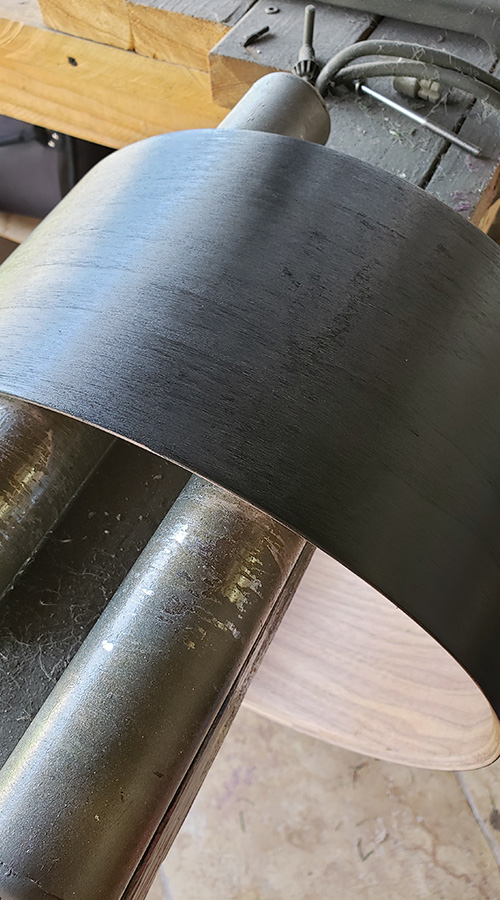
First step with the shell was to give it a good sanding with a fine grit (500+) to make sure there is nothing on the wood shell that can prevent the stain from sinking in properly. For this project I chose to go with Rustoleum’s Ebony wood stain. I have had really good with Minwax’s products as well so, just in case you like their shades better. I use sponges to apply the stain and a microfiber cloth to work the stain through the shell. Once you get an even solid shade make sure you leave the shell drying overnight before you go on with the clear finish.
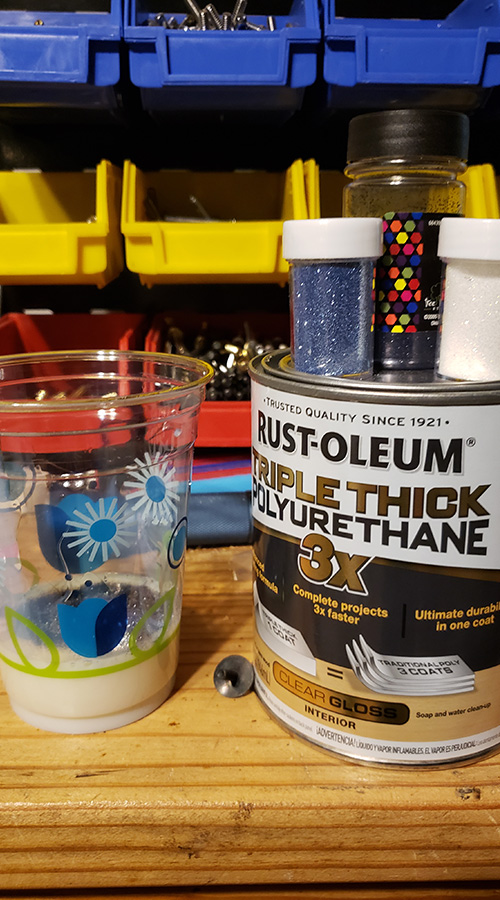
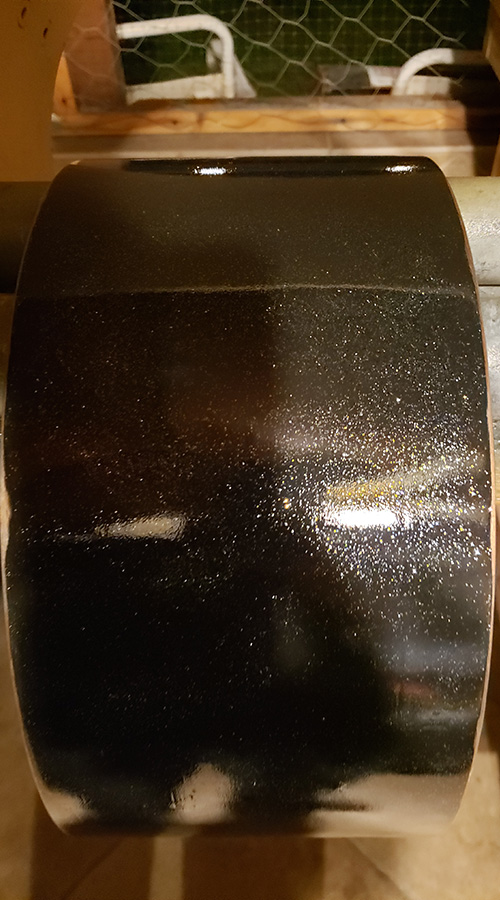
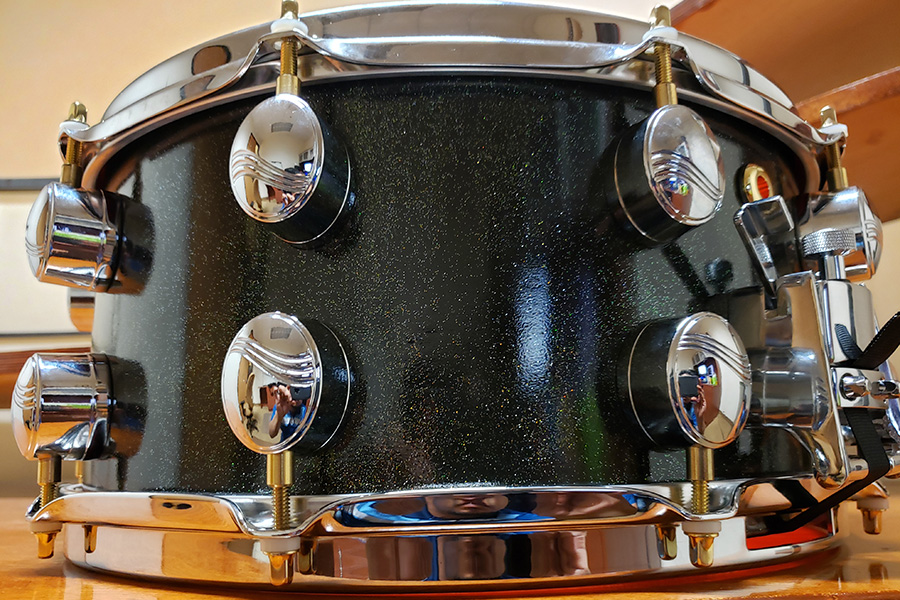
With the shell dry it is time to get on with the clear coat. I personally like using a metal flake to go along with the clear on the drum and use sponges to apply the polyurethane with the metal flake mixed in. As long as you mix enough metal flake (not too much- you don’t want it looking like paste) you can get really good results with one application. If you decide to give it a second pass wait an hour before applying the second pass with the flake. After this you will need to let it dry for a day.
With that the drum is ready for the two layers of clear polyurethane. You will want to repeat the same process for the clear coats in order to get it ready for sanding. Once the clear has dried for a day, you will notice a lot of small bumps / uneven spots in the finish. Grab a sanding block with 320 grit paper to sand it smooth. You should be able to get a smooth surface before getting to any of the metal flake but, you can always apply thin clear coats to make sure you don’t sand too deep. Once it’s smooth you can give the shell the final wipe down before applying an aerosol type polyurethane (light coats achieve a better result than thick / heavy passes).
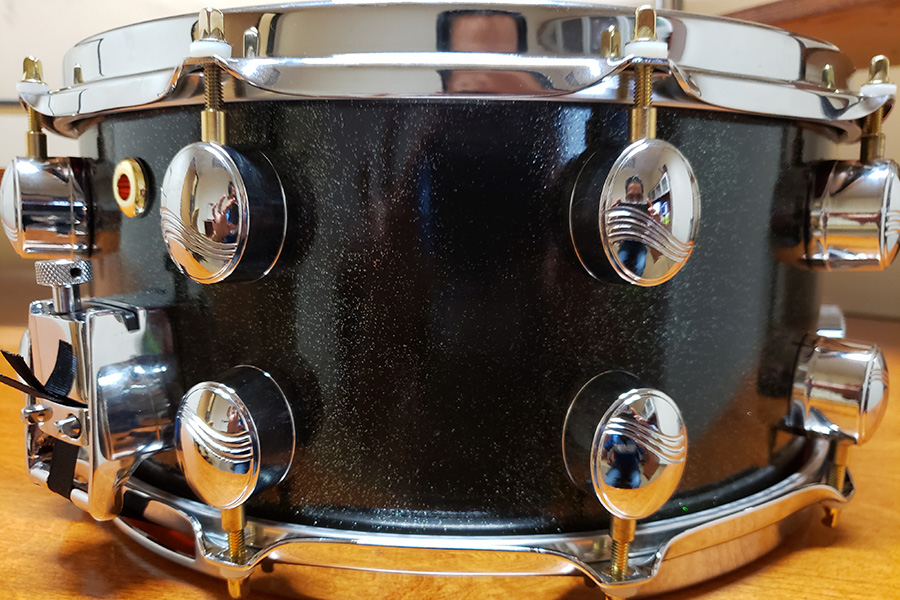
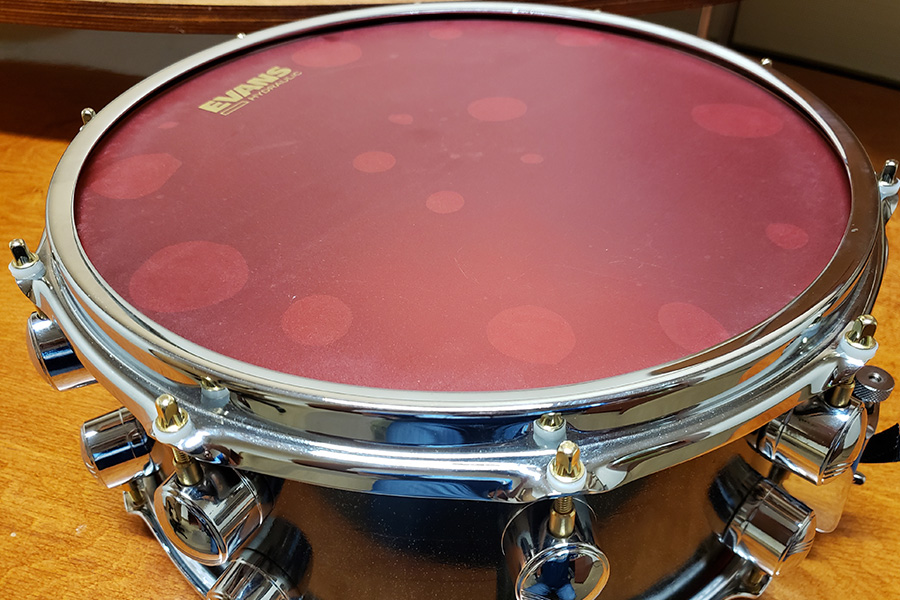
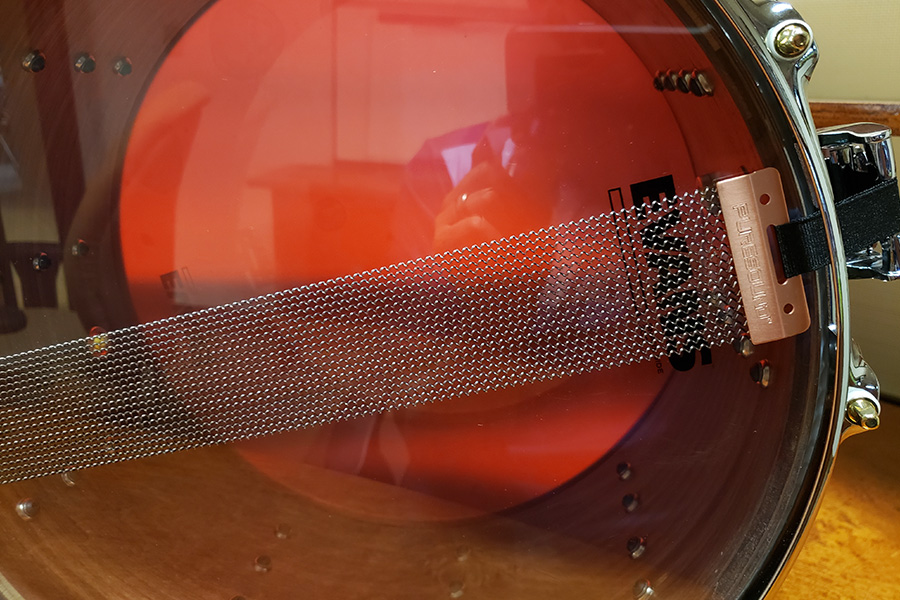
Once dry you can tape it up (preferably the blue masking tape) to map the holes for the hardware. I wanted to make this drum resemble the cherry build, but look different at the same time…….. Kinda like making brother / sister drums. So I got the same style lugs but single ended rather than double and chrome versions of the throw off and butt plate.

